
The Whys and Hows of Growing Vegetables
by Kip Anderson
WHY?
In a time when supermarkets and greengrocers stock and sell vast numbers and varieties of fruits and vegetables from all over the world, why would anyone need to grow their own? Very few people really need to do this, but many people want to do this. For one thing, doing so brings the grower into a close, and one might even say an intimate, relationship with and connection to what the grower eats. Also, one may, if it is so desired, grow produce organically without having to pay a premium for such victuals. And the number of vegetable cultivars available from seed is vastly greater than what can be found in any produce department. For me, this is especially important when it comes to snap beans. Nowadays string beans have mostly been bred out of existence, but even snap beans contain varying amounts of tough fiber. This fiber is necessary to prevent damage from handling and shipping (which is why they call them “shippers”), but elite varieties that can be grown at home have little of this and seem almost to melt in your mouth after a bit of time in the steamer. Finally, immense satisfaction comes from producing something just a few steps from garden to table. As one song writer put it, “There’s only two things that money can’t buy, and that’s true love and homegrown tomatoes.”
GETTING STARTED
Some people grow vegetables in containers, and this is perfectly fine if no open ground is available, but unless one is only interested in growing a few herbs, the containers must be substantial—whiskey barrels come to mind. However, even in the smallest suburban or city yard, if there is light enough, then there will likely be room enough. In my small backyard I have a 9’ x 13’ plot devoted to vegetables. In it I can grow three three large tomato plants, up to a half dozen pepper plants, a hill of zucchini, a patch of snap peas, a short row of daikon radishes, a six-feet long and eight-feet high trellis full of pole snap beans, some lettuce, and other odds and ends I can tuck into a square foot of open ground.
Once you have decided where you want to locate your vegetable patch (and at least six hours of direct sunlight is very important), remove any existing sod and any large pieces of debris. If you own a rototiller, then use it. If not, then you will need a sturdy flat-tined spading fork. This is the hardest part of the project, but remember that soil preparation is the most important thing you will ever do to ensure the success of your garden (and that goes for ornamental gardens as well). After the sod is removed, turn up chunks of soil to a depth equal to the length of the business end of the spading fork. If your soil is especially hard, then you might need to use a shovel and lots of elbow grease. And if the texture of the existing soil is not crumbly, then break up the upheaved chunks as best you can. Roughly level the broken ground and evenly spread an inch or two of peat moss on top of it. The more compacted your soil, the more peat moss is desirable. Compost, if you have it or can get it, may be liberally spread over the plot at this point. I like to sprinkle fertilizer over the whole thing (my personal choice being Espoma Plant-tone) before churning the native soil with the added amendments. Once everything has been fairly homogenized, just rake it flat, have a drink, and congratulate yourself.
At this point you will notice that you have created a raised bed. It’s a common misunderstanding that raised beds must be buttressed with wooden planks. This is not so. Gravity itself will maintain a 45° slope from the flattened planting bed to the surrounding uncultivated ground. The problem is that the nice tilthy soil you have created will tend to wash down onto the native sod, respecting no boundaries. This is the reason that raised beds are commonly confined by wooden structures. But please be advised that no wood known to man, not even pressure-treated wood, will last more than a few years in contact with living soil. Once the issue of containment has been settled, sprinkle some dolomitic limestone over the entire area. Lime is an essential plant nutrient for most vegetables; it keeps the pH at an ideal 6.5, and prevents blossom-end rot on tomatoes. Where you intend to grow cole crops (cabbage, kale, broccoli, etc.) go a bit heavier with the pulverized limestone.
FINAL POINTS
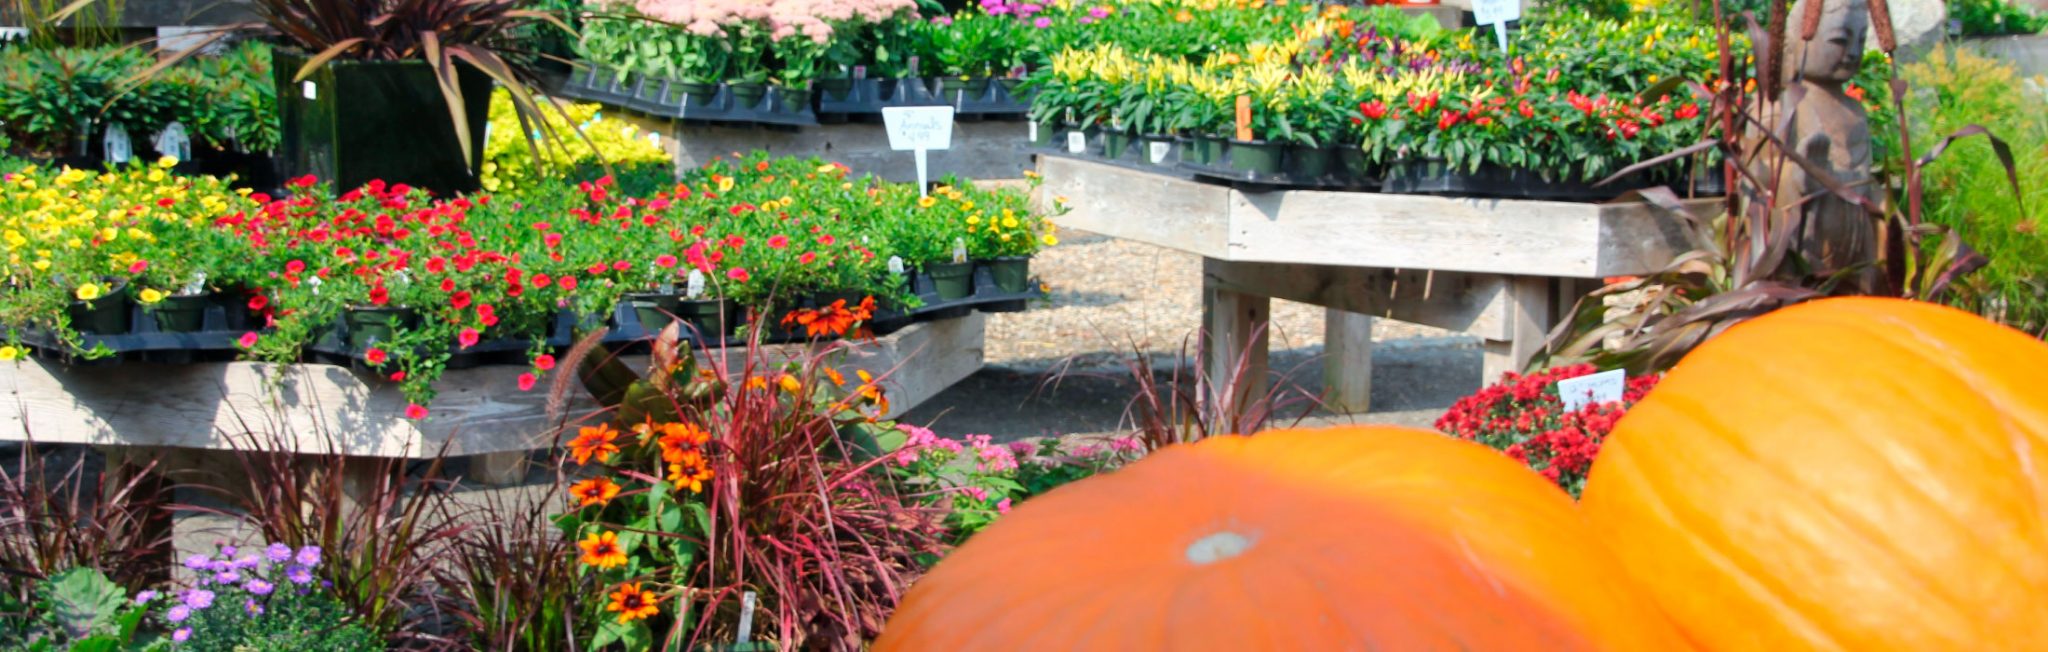
Garden seeds are available at most garden centers, or they can be purchased online. Warm weather crops, such as tomatoes, peppers and eggplant, unless you have access to a greenhouse of some sort, should be purchased as living plants from a garden center. If you have a problem with pests, such as rabbits, deer or woodchucks, then consult with local gardeners to learn what your options are. My policy has always been to do whatever is necessary.
Perhaps you would like to grow your own fruit. I won’t go into this in any great detail—everything you need to know can be found online or in a good reference book. Pears (even the apple-shaped Asian varieties) are a lot easier to grow than apples, because they are less likely to be damaged by disease or insect pests. Blueberries are a wonderful thing to grow, but unless you cover the plants with netting (which tends to get snagged in the twigs) or build a bird-proof enclosure to house them, the birds will eat the fruit before you get to pick it. Once the fruit turns blue it is best to let them be for a couple of weeks until they turn black—this will ensure the highest sugar content and the deepest flavor. Cane fruit, such as raspberries and blackberries, are easier: for some reason that I have never understood, birds seem to leave them alone. They are ready to pick when the fruit pops off at the slightest touch, without undue tugging. You will just need to learn the difference between primocanes and floricanes. Gooseberries and red currants are also easy-to-deal-with choices for those hankering to grow their own fruit.